ButtonをPrefab化すると、ゲームシーン上のオブジェクトを参照できなくて困ることがよくある。GameObject.Findでオブジェクトを見つけるのは処理が重い?とかよく聞くのでUnityActionなどのdelegateを使ってなんとかしてきた。久々にこの事態に面した時やり方をすっかり忘れてしまいかなりの時間を割いてしまったのでまとめておきたい。
なおここでやることを簡単に文章にすると、「UnityActionというdelegateを用意しButtonのOnClickにAddLisnerを追加して、そこの引数に用意したUnityActionを設定する。UnityActionに設定する関数はButtonをインスタンス化したタイミングでセットしてあげる。」と言った感じ。
delegateやUnityActionの意味がわからない人は参考にどうぞ

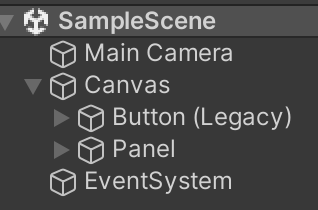
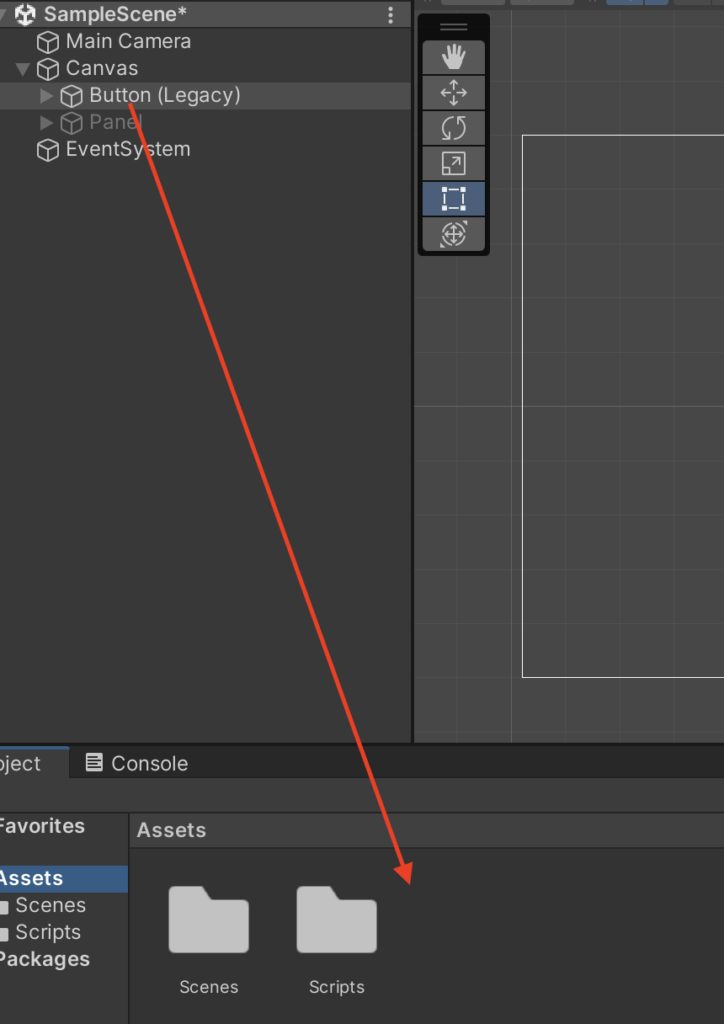
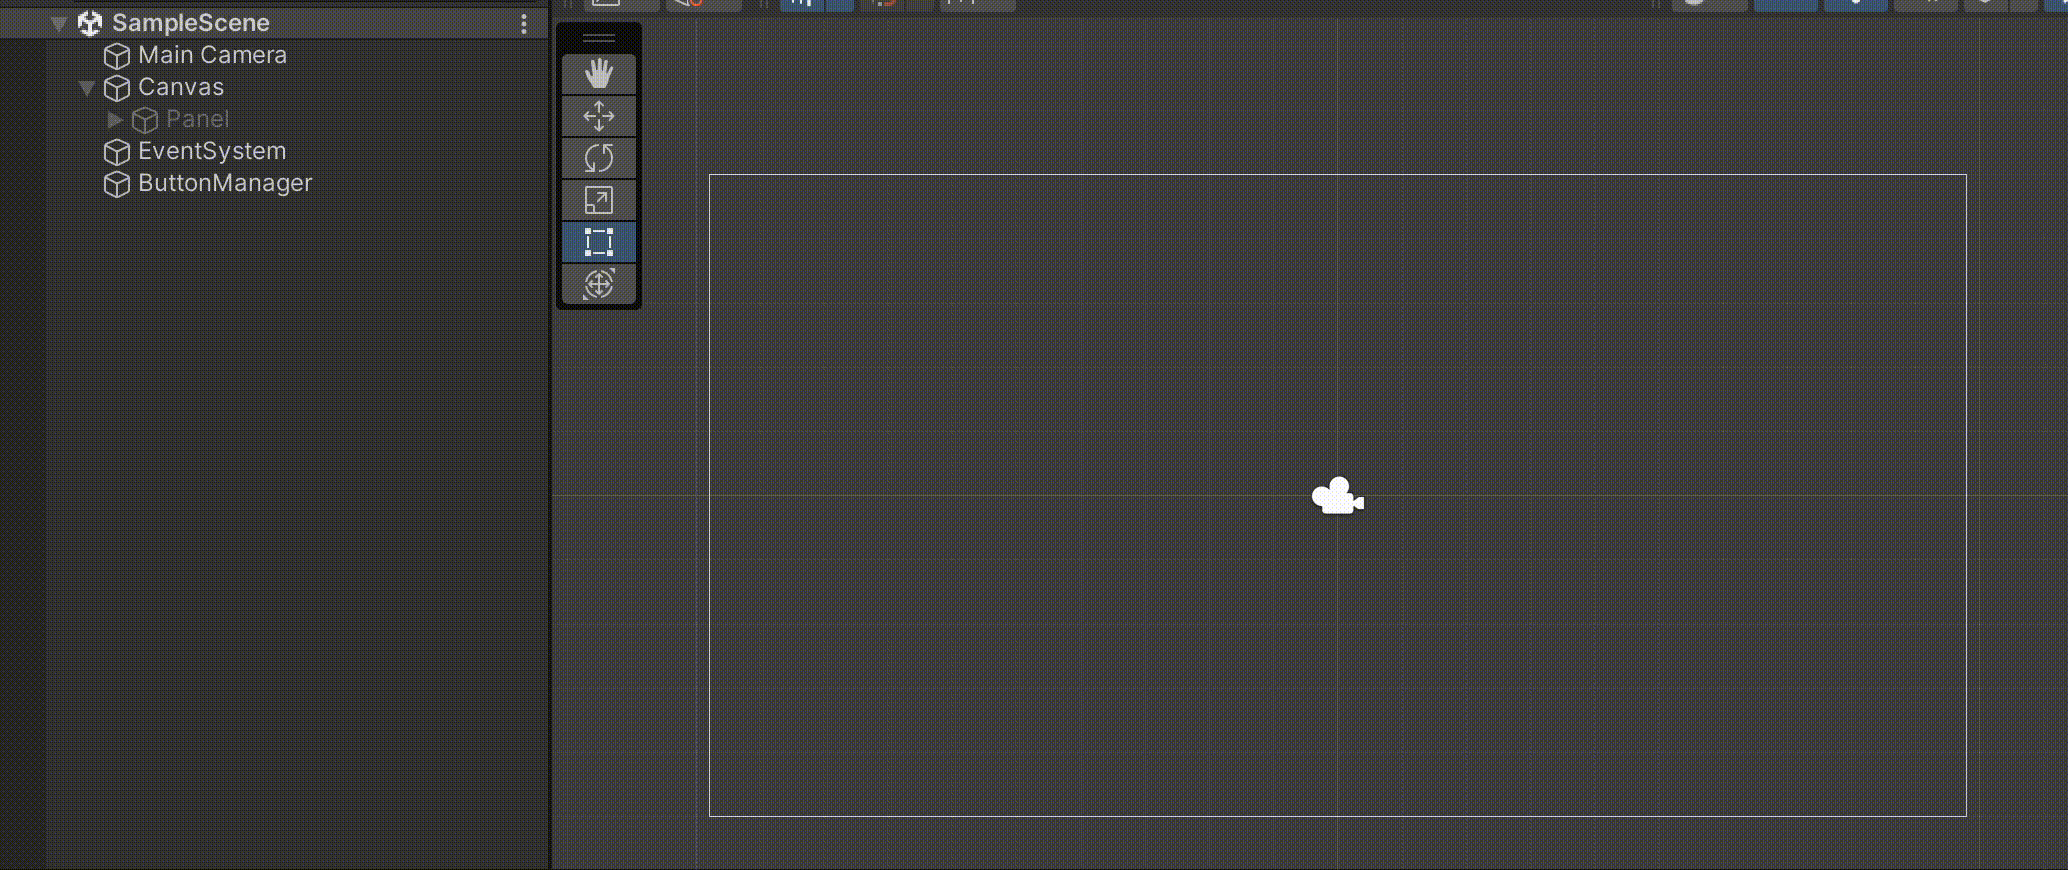
ButtonとPanelを作成する
さっそくPrefab化したButtonから、違うクラスのスクリプトを呼んでみよう。もちろんUnityActionを使用してだ。
まだプロジェクトを作っていない人は、適当なプロジェクトを作成してButtonとPanelを作成しよう。今回自分は以下のように作成したが、自分の好きなようにで構わない。
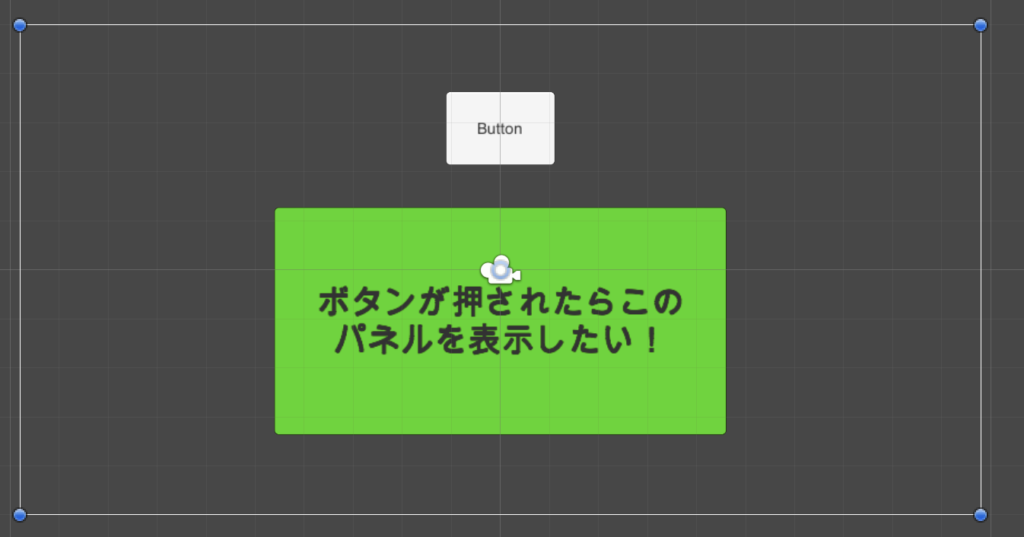
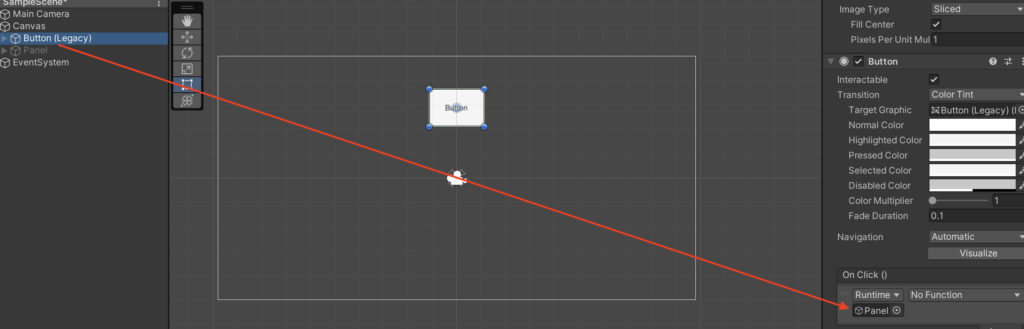
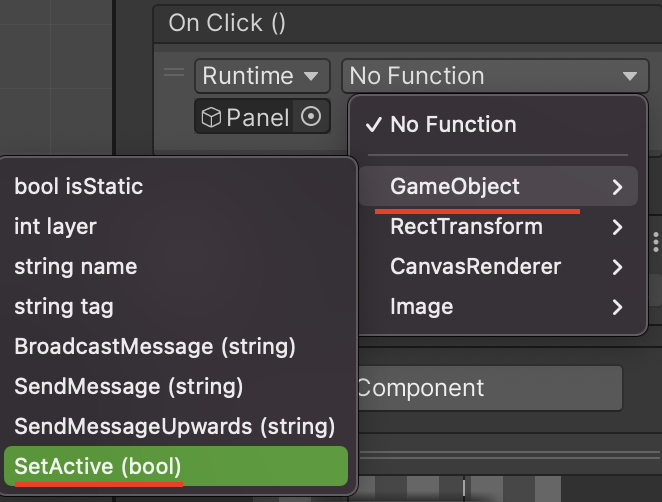
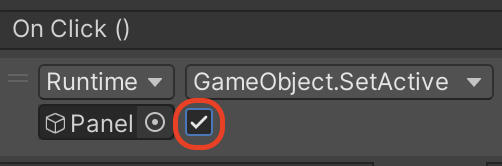
まずはUnityActionを使わずに普通にパネルを表示させる例をやってみる。
ButtonコンポーネントのOnClickにPanelを持ってきてGameObjectからSetActiveを読んであげれば表示できる。

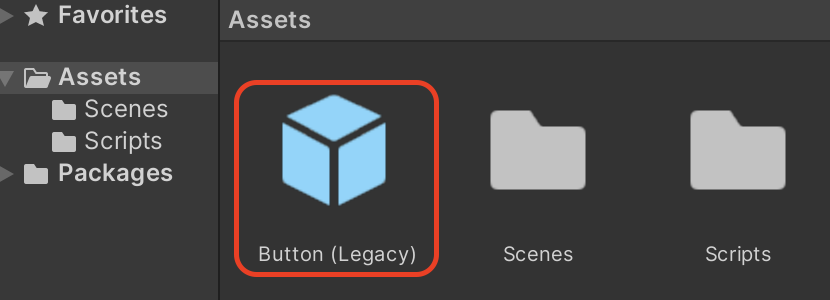
ButtonをPrefab化する
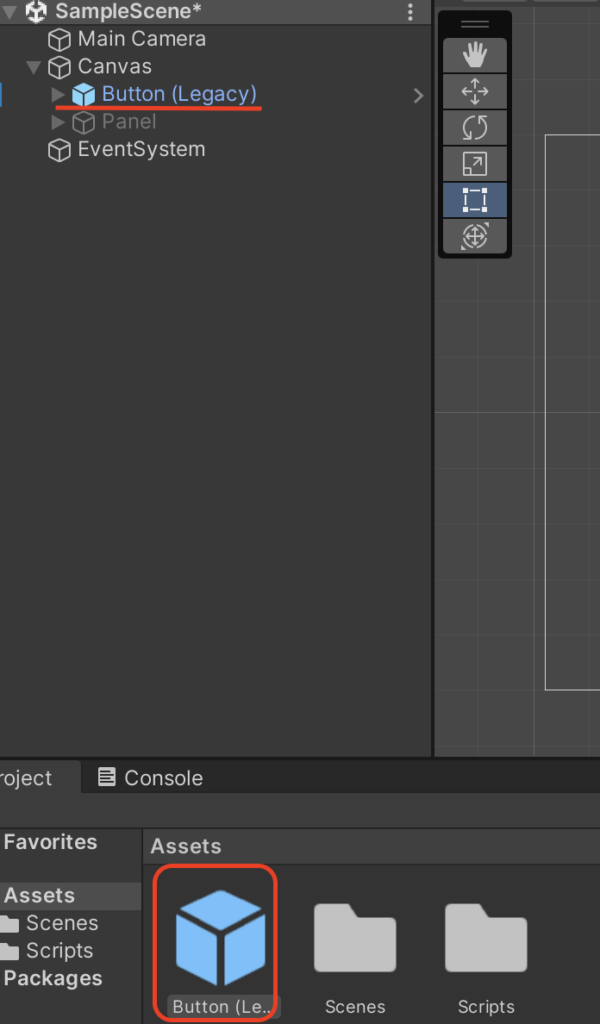
では、次にButtonをPrefab化してみよう。
Prefab化するには、ButtonをProjectに持っていくだけ。
Buttonを生成する関数を作成する
ButtonをPrefab化した後はこのButtonを生成するスクリプトを作成しよう。今回は以下のような感じで作成した。
using System.Collections;
using System.Collections.Generic;
using UnityEngine;
using UnityEngine.UI; //Button等のuGUIを使う時は記述するのを忘れないようにしよう
public class ButtonManager : MonoBehaviour
{
public Canvas parent; //buttonを生成する時の親
public Button button; //生成したいButton
void Start()
{
Instantiate(button,parent.transform);
}
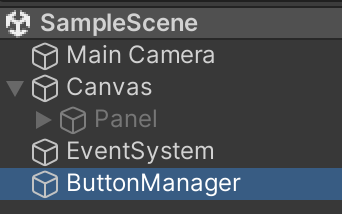
}作成したら空のGameObjectを作成してアタッチしよう。アタッチしたら実際にボタンが作成されるか確かめる。
上を見ても分かる通り、問題なのはPrefab化したボタンを押してもパネルは表示されないということだ。Prefab化した場合シーン上のオブジェクトをインスペクタから入れられなくなる。
ButtonPrefabを見てみると、インスペクタが空になっているのがわかる。
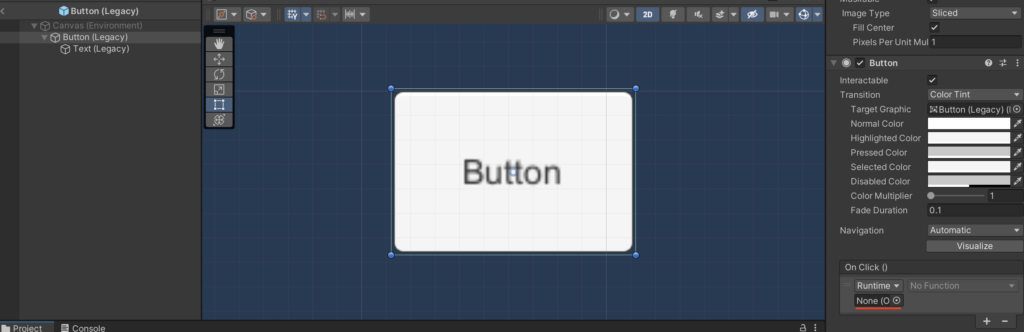
OnClickにPanelを設定したくても、インスペクタからは設定できない。
これをUnityActionを使って解決していこう。
UnityActionをAddListenerに登録する
Button側にUnityAction用意する為に、以下のButtonTestスクリプトを作成しよう。
using System.Collections;
using System.Collections.Generic;
using UnityEngine;
using UnityEngine.UI;
using UnityEngine.Events;

public class ButtonTest : MonoBehaviour
{
    public UnityAction buttonAction; //UnityActionを用意する

    private void Start()
    {
        Button button = GetComponent<Button>(); //buttonコンポーネントを取得
        button.onClick.AddListener(buttonAction); //UnityActionを登録
    }
}
ここで用意しているのがdelegateの派生であるUnityActionだ。
public UnityAction buttonAction;
アクセス修飾子をpublicにしておくことで後で外部からメソッドを登録していく。
次にButtonコンポーネントを取得してきて、OnClickからAddListnerを呼んでいる。そして、この中にUnityActionを登録している。AddListnerはUnityEventと言われるものでここにUnityActionを設定する。
上にも貼ったが、UnityEventについての詳細はこちらを参照してほしい。
このスクリプトをButtonPrefabにアタッチしてあげたら試しに再生してみる。
この段階ではエラーが表示されるはずだ。なぜならUnityActionは登録したものの、その中身は空だからだ。

なので、UnityActionに呼びたい関数を設定してあげる。ButtonManagerスクリプトを以下のように書き換える。
using System.Collections;
using System.Collections.Generic;
using UnityEngine;
using UnityEngine.UI;

public class ButtonManager : MonoBehaviour
{
    public Canvas parent;
    public ButtonTest button; //Buttonクラスから、ButtonTestクラスへと変更
    public GameObject panel; //表示させたいパネルを用意

    void Start()
    {
        ButtonTest buttonObj = Instantiate(button,parent.transform); //Buttonオブジェクトを生成
        buttonObj.buttonAction = OpenPanel; //UnityActionにパネルを開く関数を登録
    }

    //パネルを開く関数を作成する
    public void OpenPanel()
    {
        panel.SetActive(true);
    }
}
まず、public ButtonTest button;とButtonクラスからButtonTestクラスへと変更した。UnityActionはButtonTestクラスに書かれているのでインスタンス化する時にButtonTestクラスで受け取ってあげる。
buttonをインスタンス化した後は、今度はbuttonObj.buttonAction = OpenPanel;の部分で関数を登録してあげる。
ちなみにbuttonObj.buttonAction = OpenPanel;の部分をbuttonObj.buttonAction = panel.SetActive(true);と直接入れることはできない。なぜなら、UnityActionでは引数なしのvoid型で生成しているのに対して、SetActive関数は引数を取るからだ。


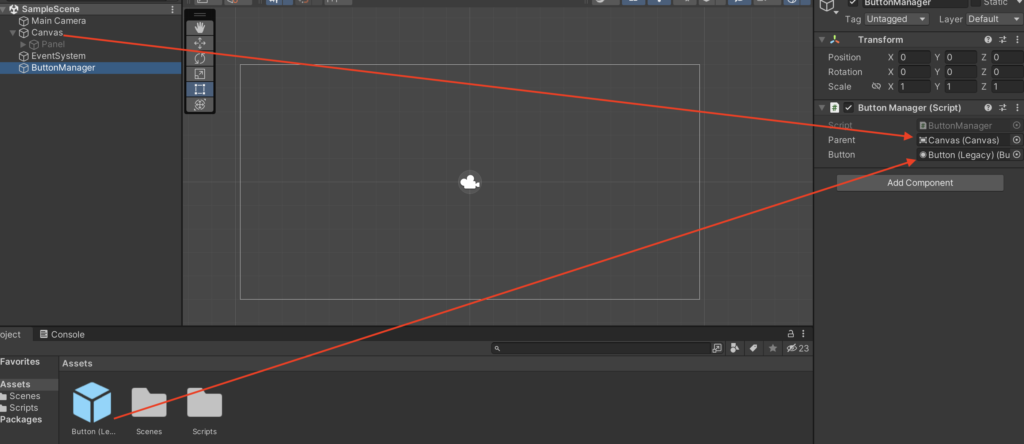
スクリプトを変更したら、ButtonManager側のインスペクタにPanelとButtonを登録しよう。
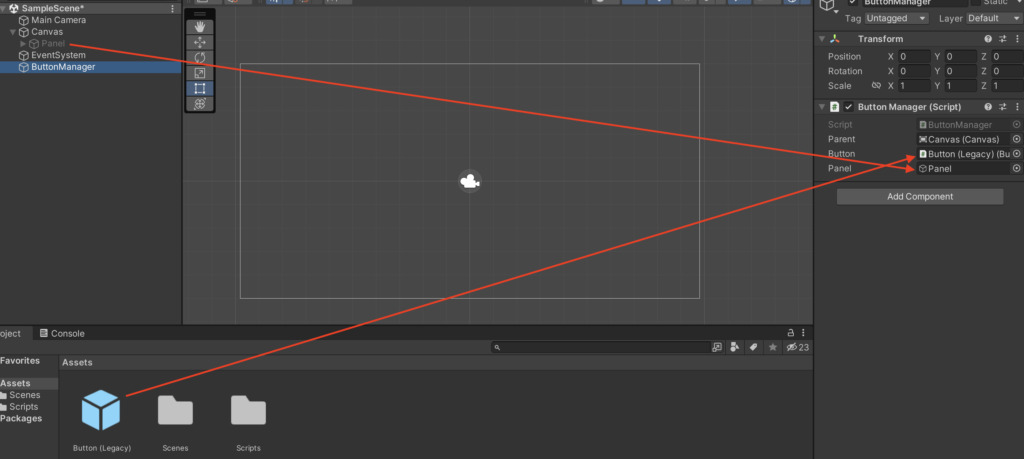
アタッチしたら再生して確認しよう。うまくPrefab化したボタンからPanelを表示させることができたはずだ。
まとめ
これでPrefab化したボタンからも他のクラスのスクリプトを呼ぶことができた。一旦まとめておく。
- ButtonPrefabにスクリプトをつけて、そこにUnityActionを用意する
- button.onClick.AddListenerにUnityActionを登録する
- インスタンス化した後のUnityActionに呼びたいメソッドを登録する
これで一応他クラスの関数を呼ぶことができたが、UnityActionに引数付きの関数を渡す方法はよくわかっていないのでまた分かったらまとめたい。